Video Generator
This is a tutorial on how to deploy and build the video generator web app.
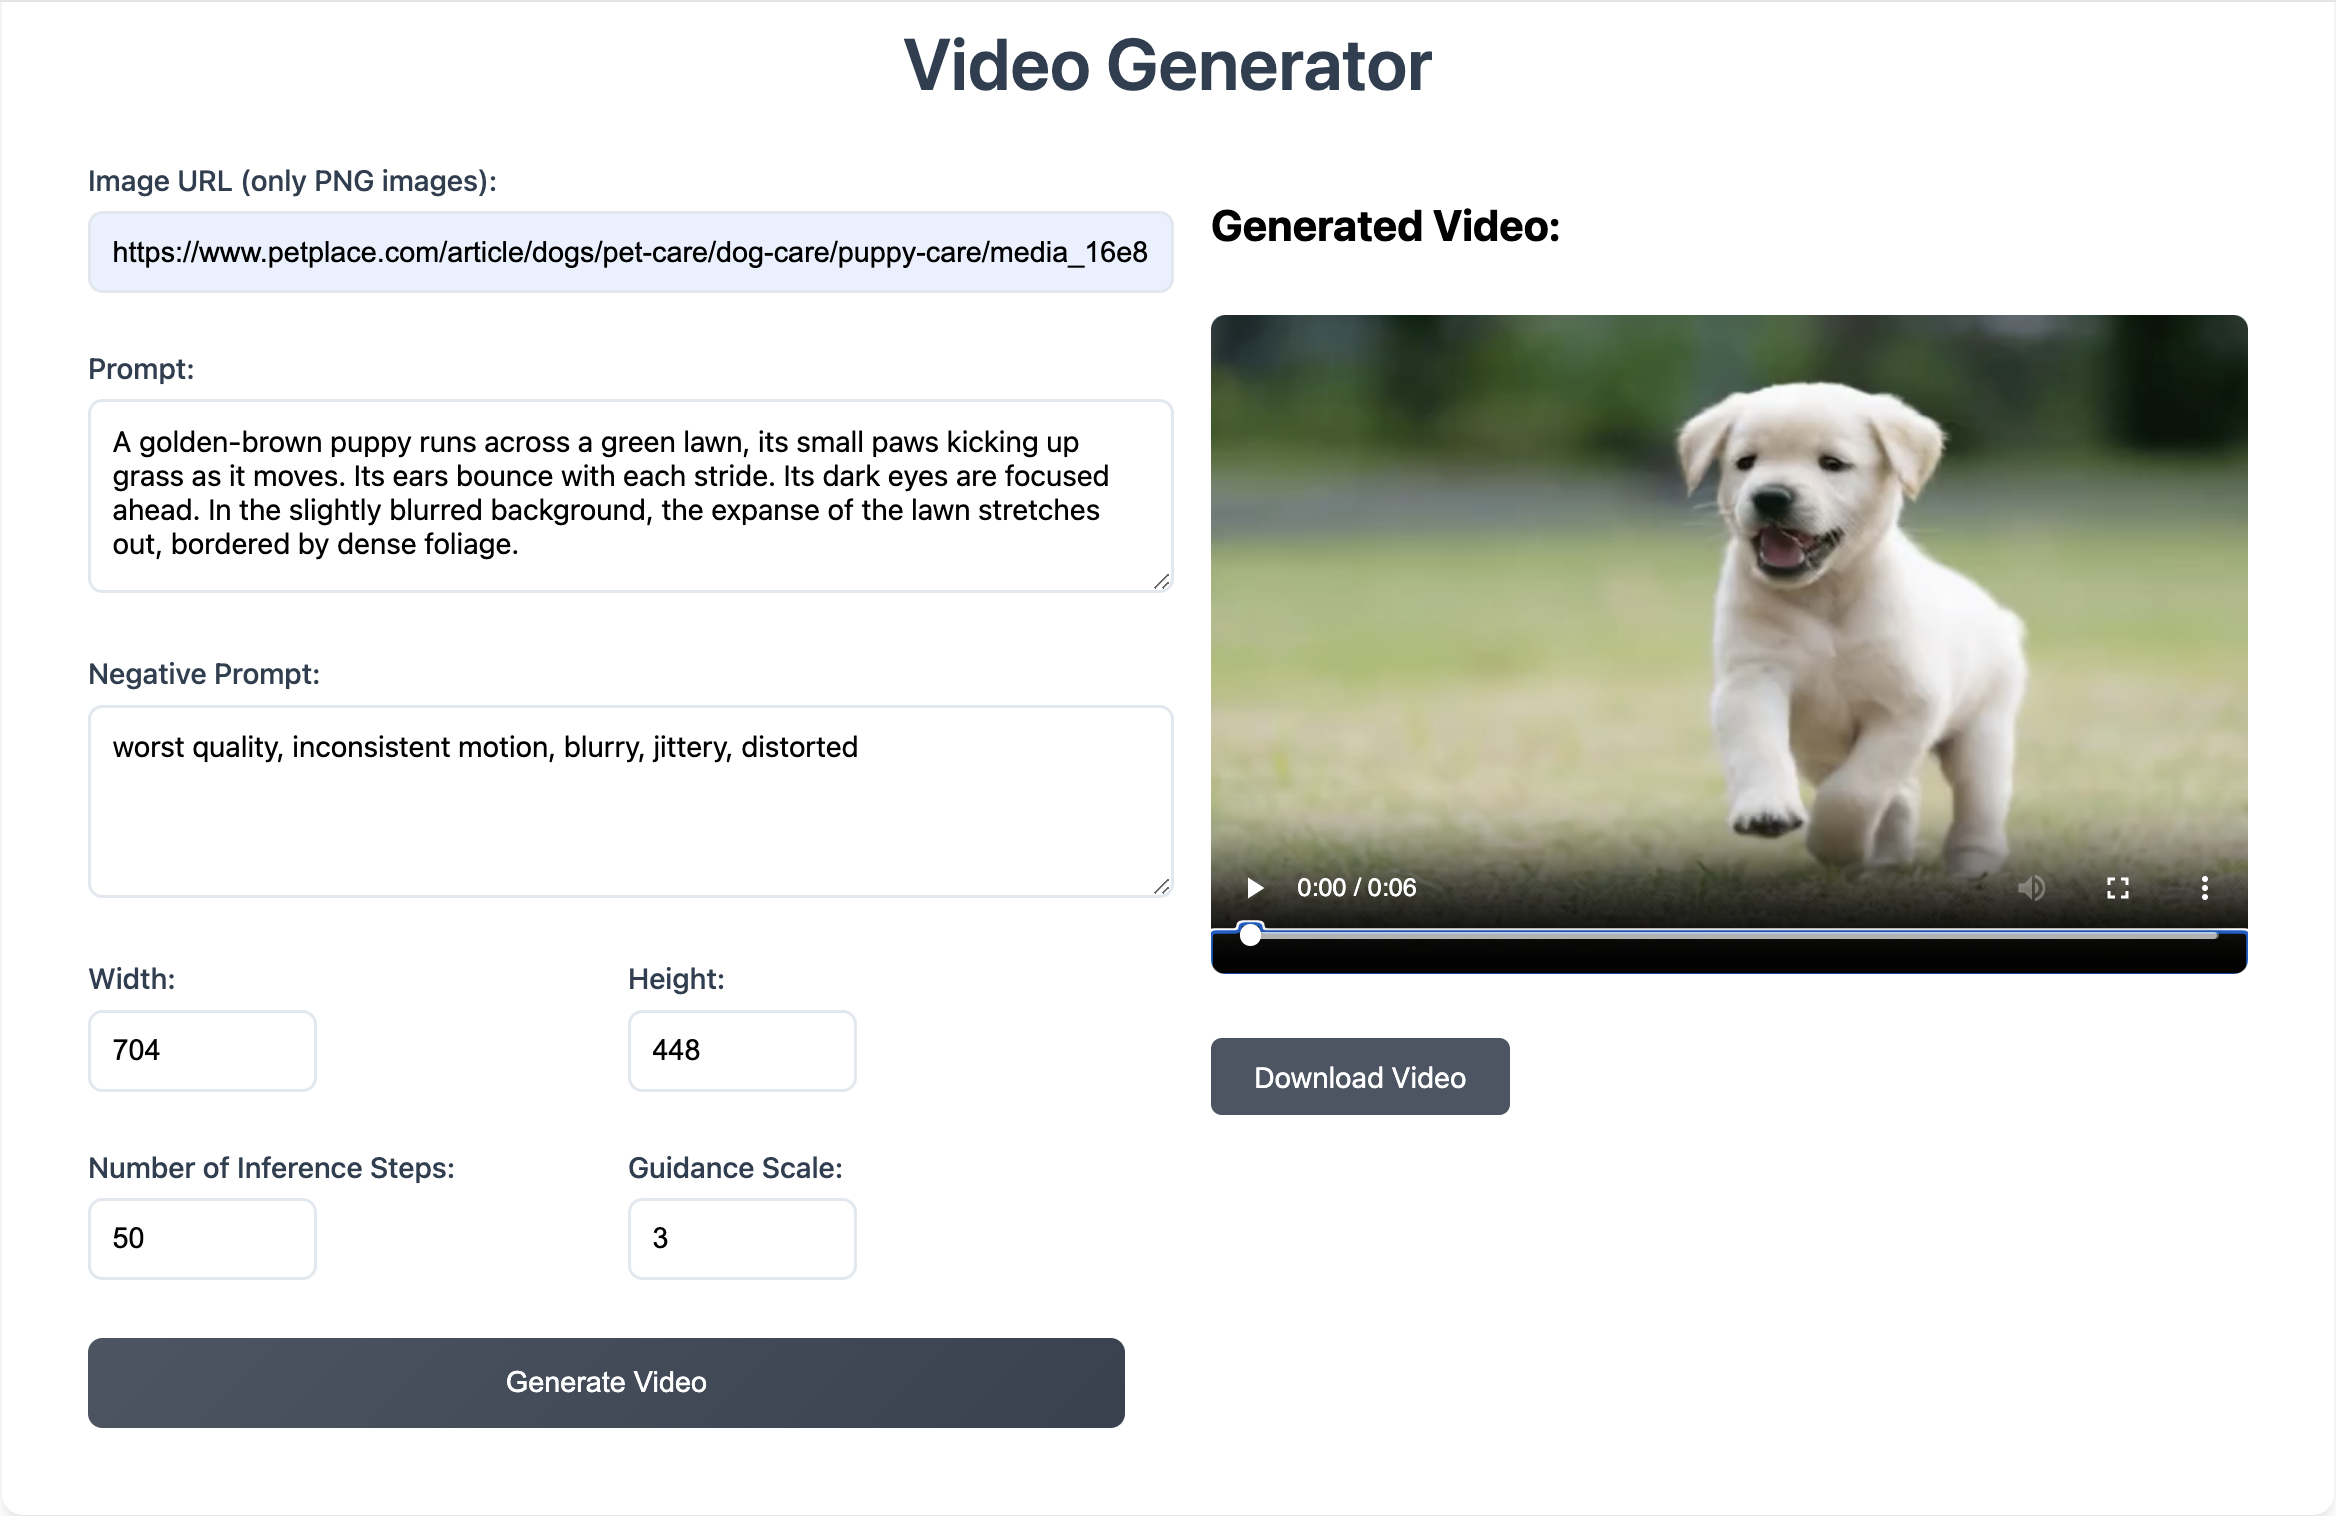
Demo
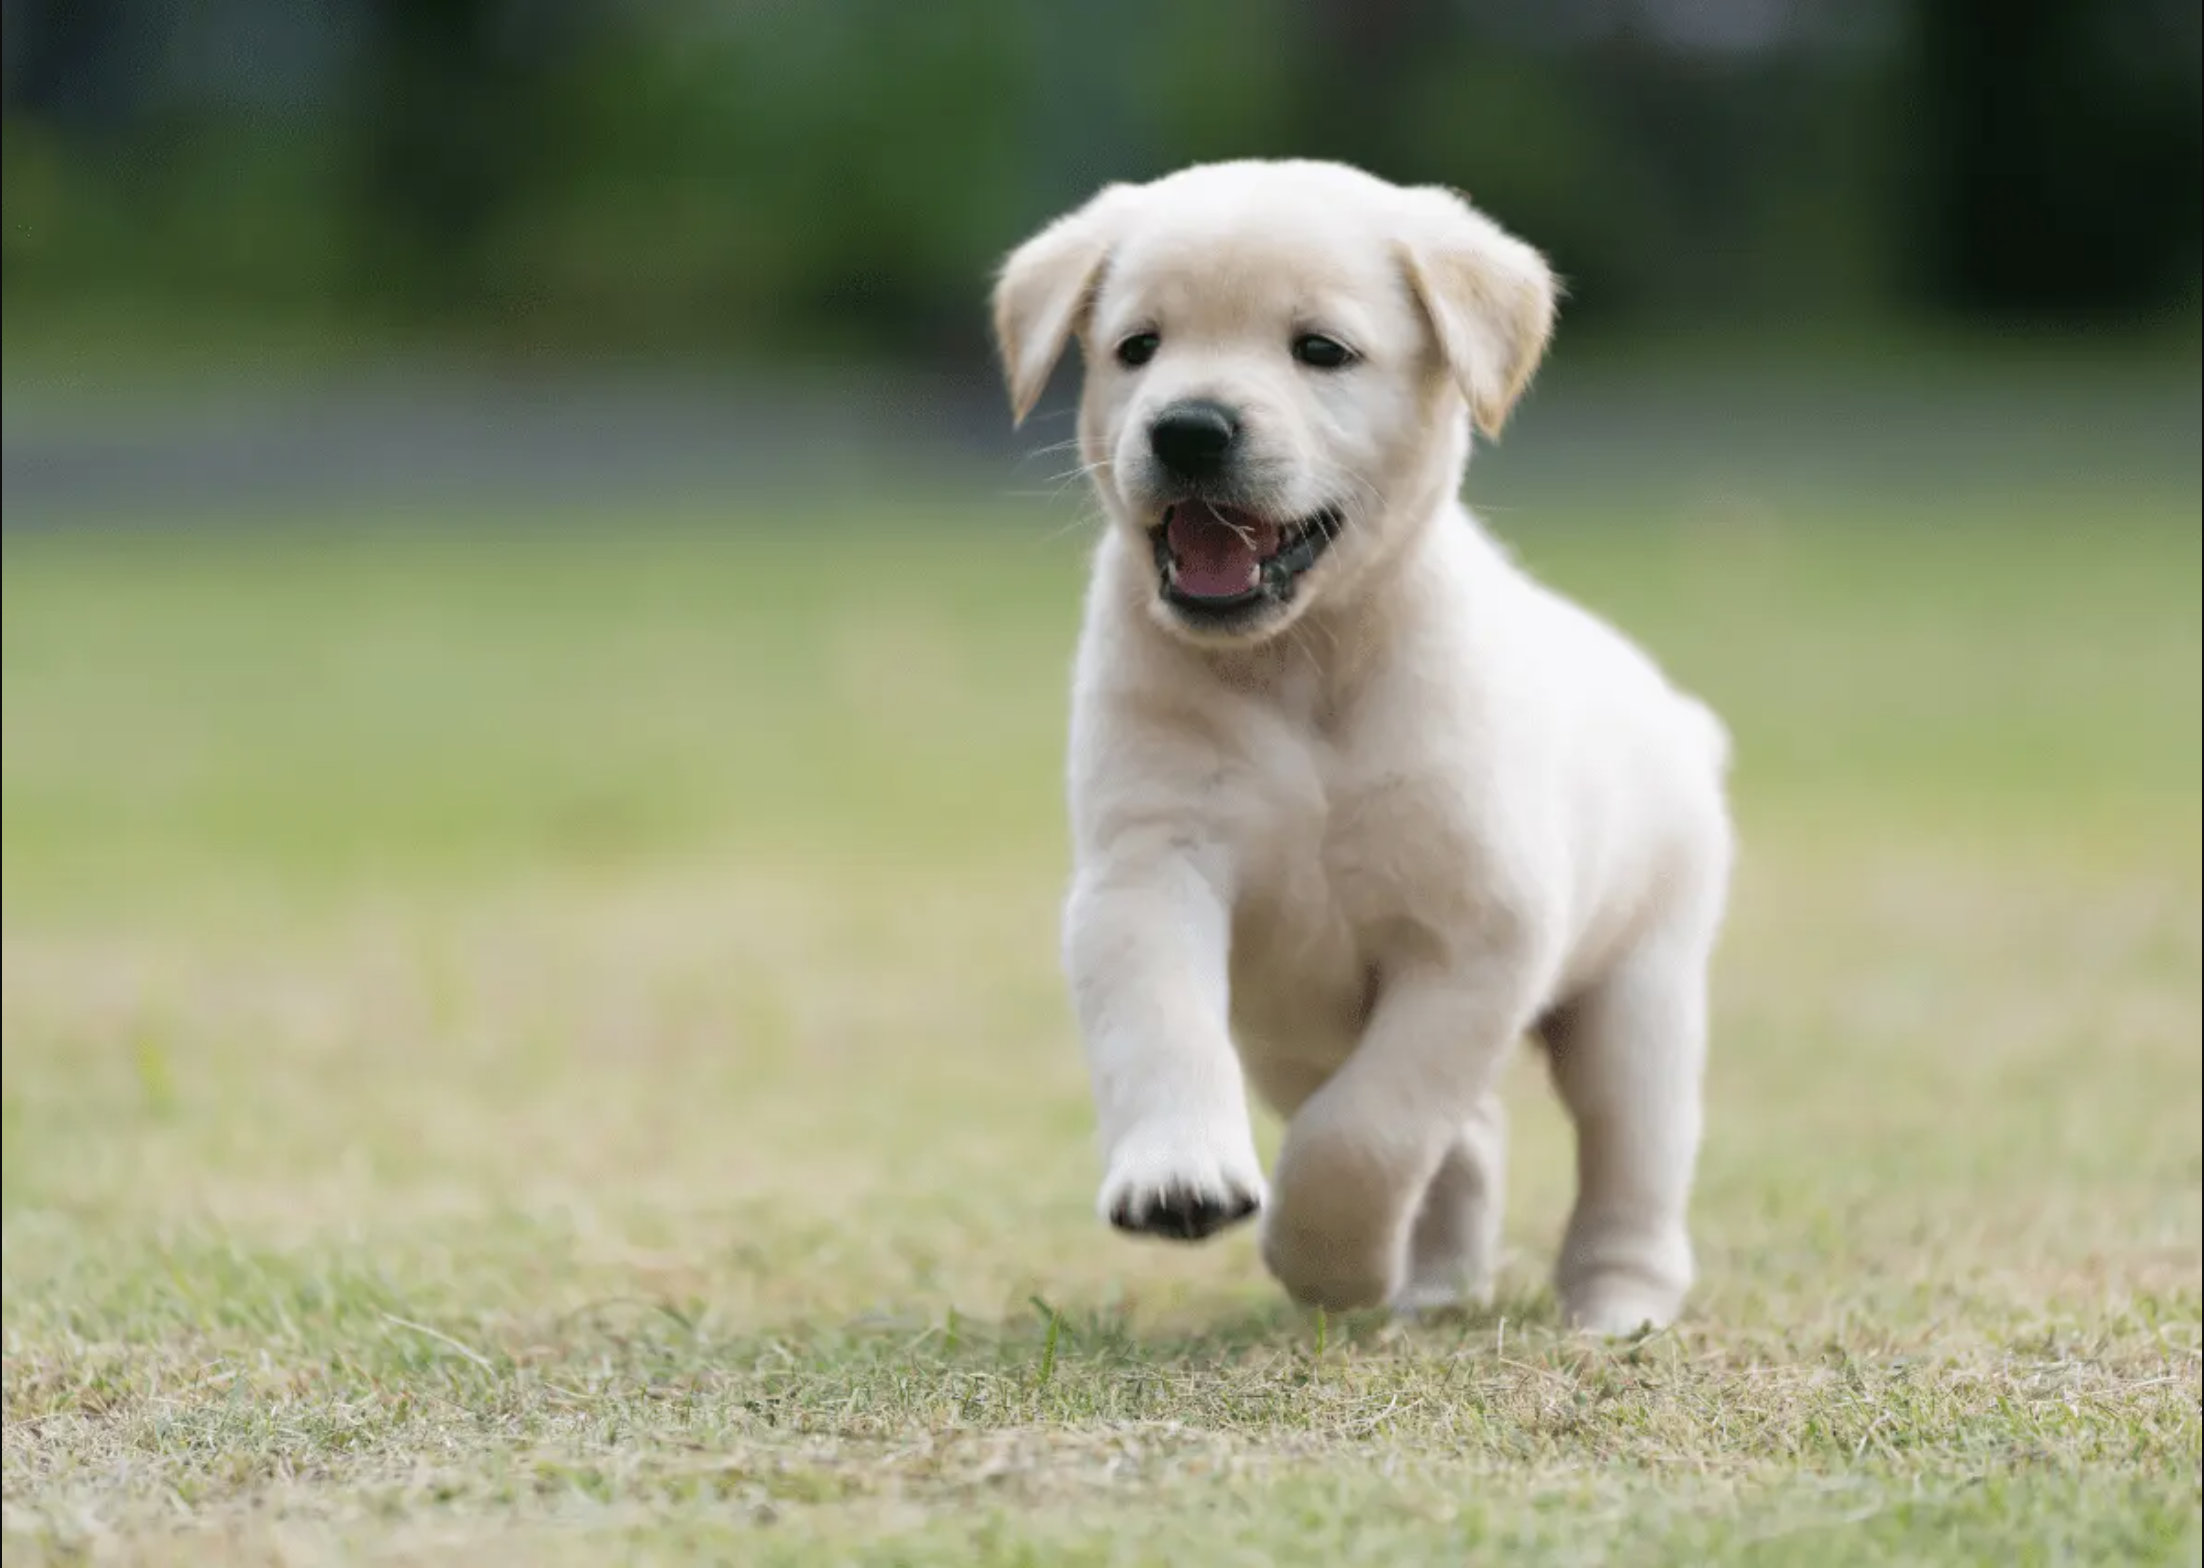
The image that was be used for genarating.
The prompt "A golden-brown puppy runs across a green lawn, its small paws kicking up grass as it moves. Its ears bounce with each stride. Its dark eyes are focused ahead. In the slightly blurred background, the expense of the lawn streches out, boarded by dense foliage"
Negative prompt " worst quality, inconsistent motion, blurry, jittery, disorted"
Width: 704
Height: 448
Number if Inference Steps: 50
Guidance Scale: 3
The out put:
Getting Started
Follow the steps below to deploy an Image-to-Video converter to your Koyeb account.
To use this repository, you need:
- A Koyeb account to build the Dockerfile and deploy to the platform. If you don't already have an account, you can sign up for free, link to sign up.
- Access to CPU and GPU Instances on Koyeb.
Deploy the Application
Remember to deploy the backend first and then the frontend. If you use the Deploy to Koyeb buttons, you can link your service to your forked repository to push changes.
Frontend

You'll need to configure the deployment source by adding the link to the repo you forked.
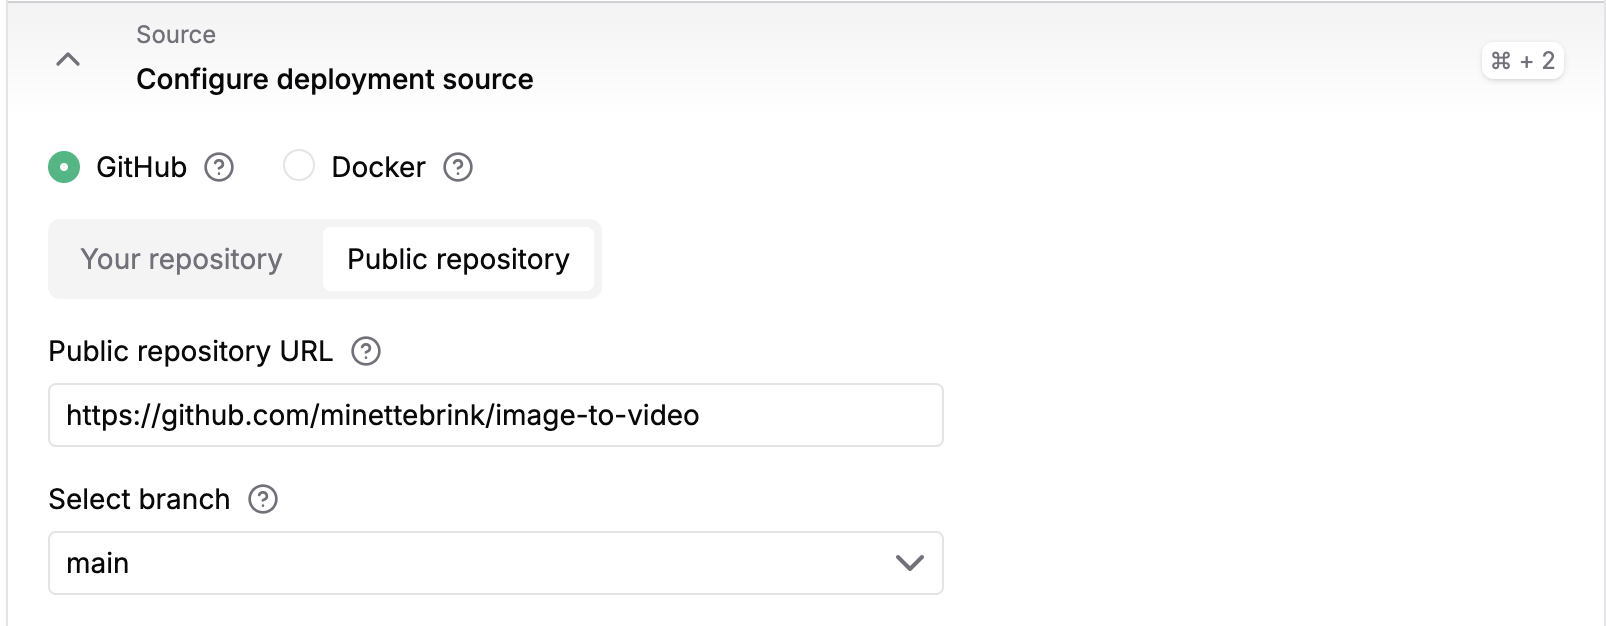
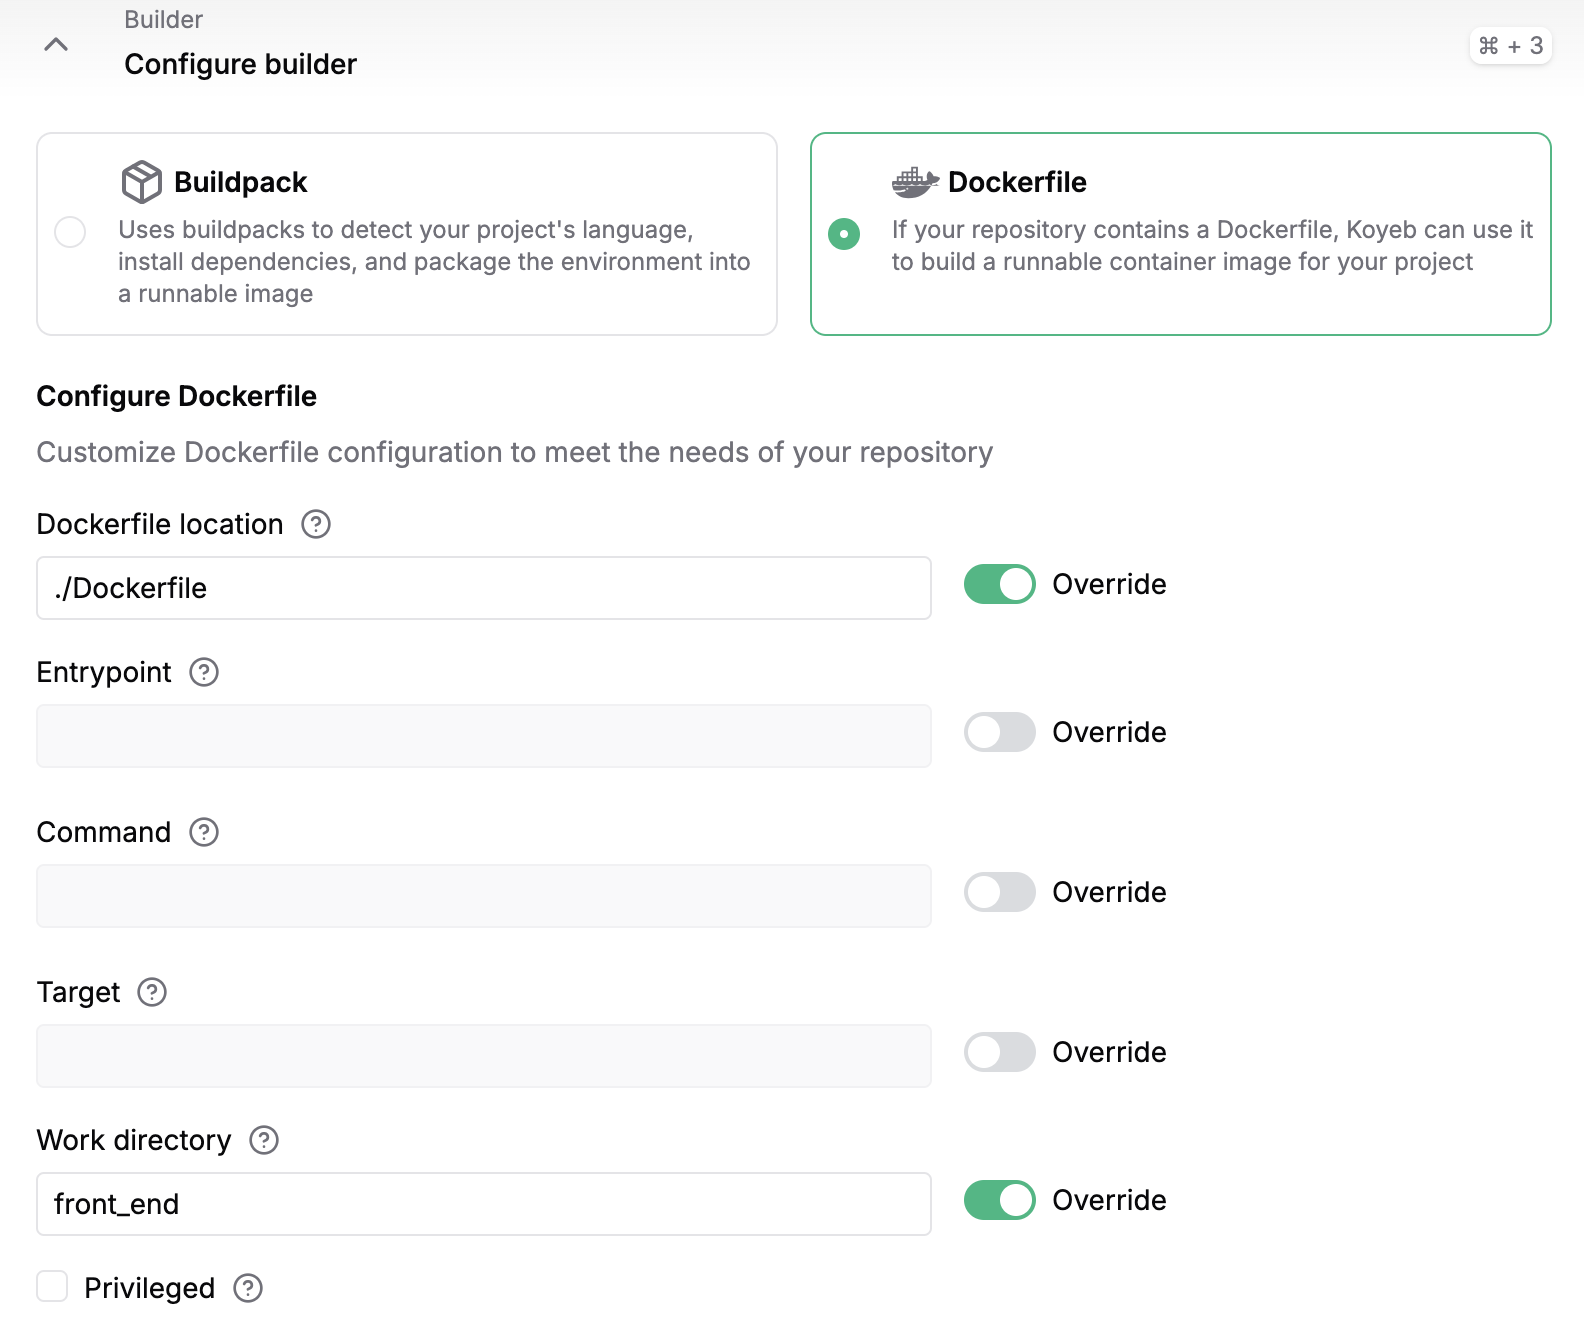
To configure the builder, select Dockerfile and write ./Dockerfile in the docker file location and in the Work directory /front_end.
Backend
You'll need to configure the deployment source by adding the link to the repo you forked.
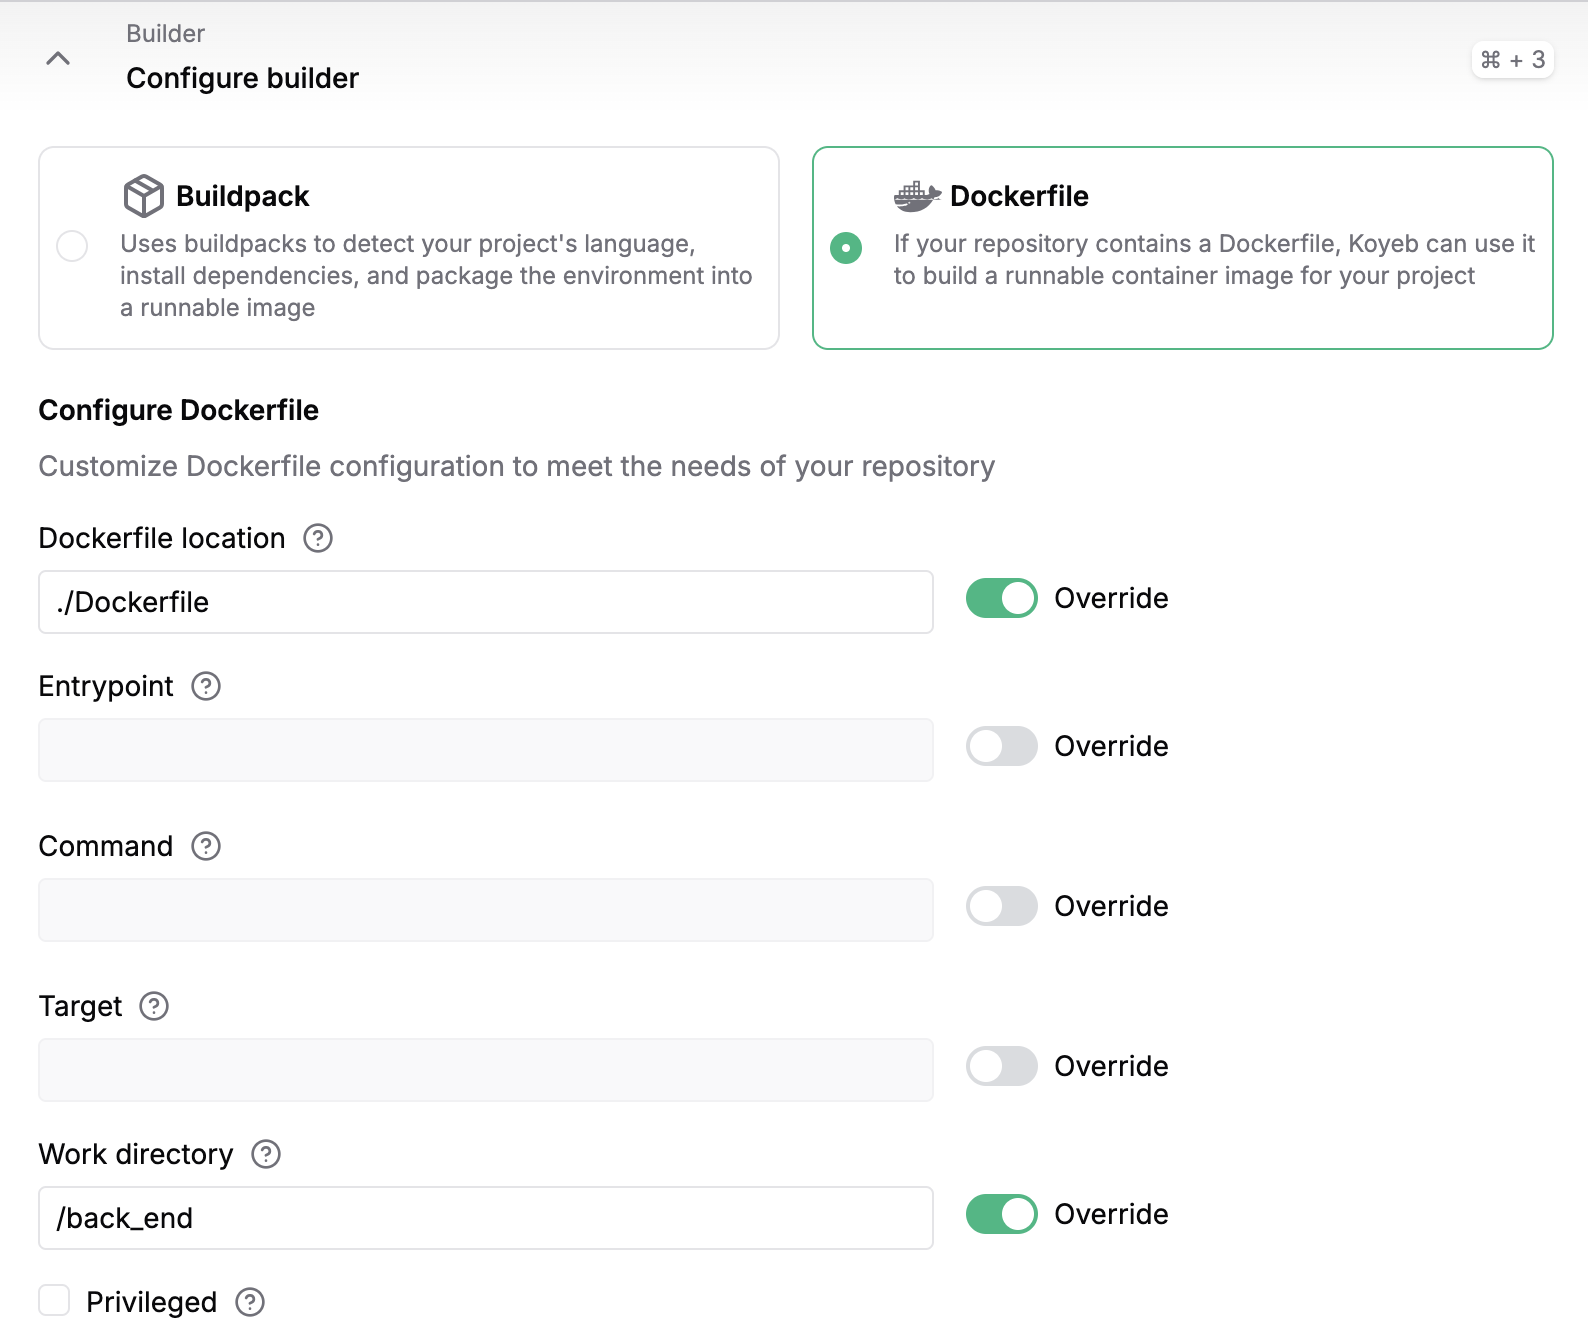
To configure the builder, select Dockerfile and write ./Dockerfile in the docker file location and the Work directory /back_end.
Alternatively, you can manually create the application as described below.
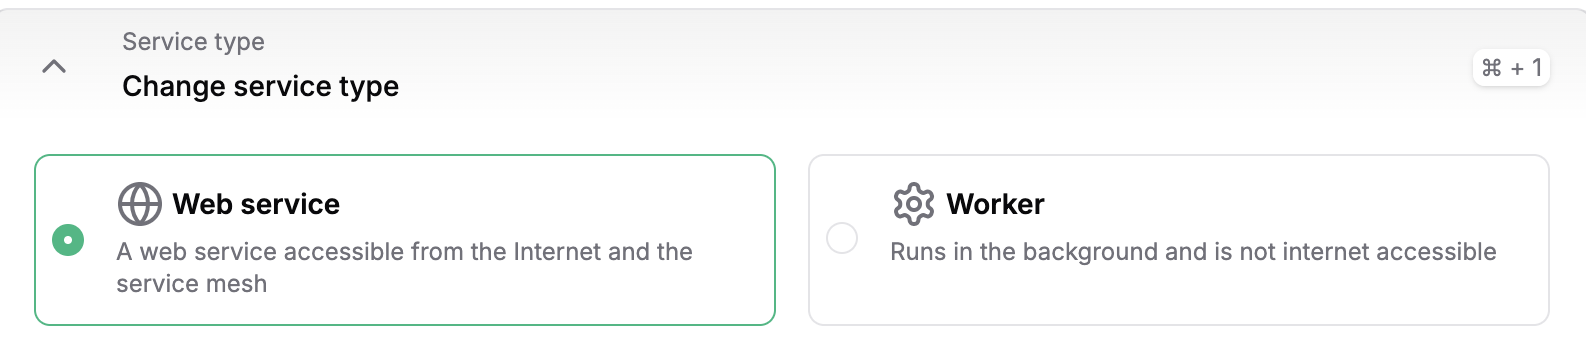
When clicking Create Service on your Koyeb account, choose GitHub and add the link to your public GitHub repo. After selecting the instance, click the Create Web Service button.
Select GitHub as the deployment method. Choose the repository containing your application code.
For the frontend
To configure the builder, select Dockerfile and write
./Dockerfilein the docker file location and in the Work directory/front_end.After the backend has started, add the URL as an environment variable with the name
VITE_BACKEND_URL.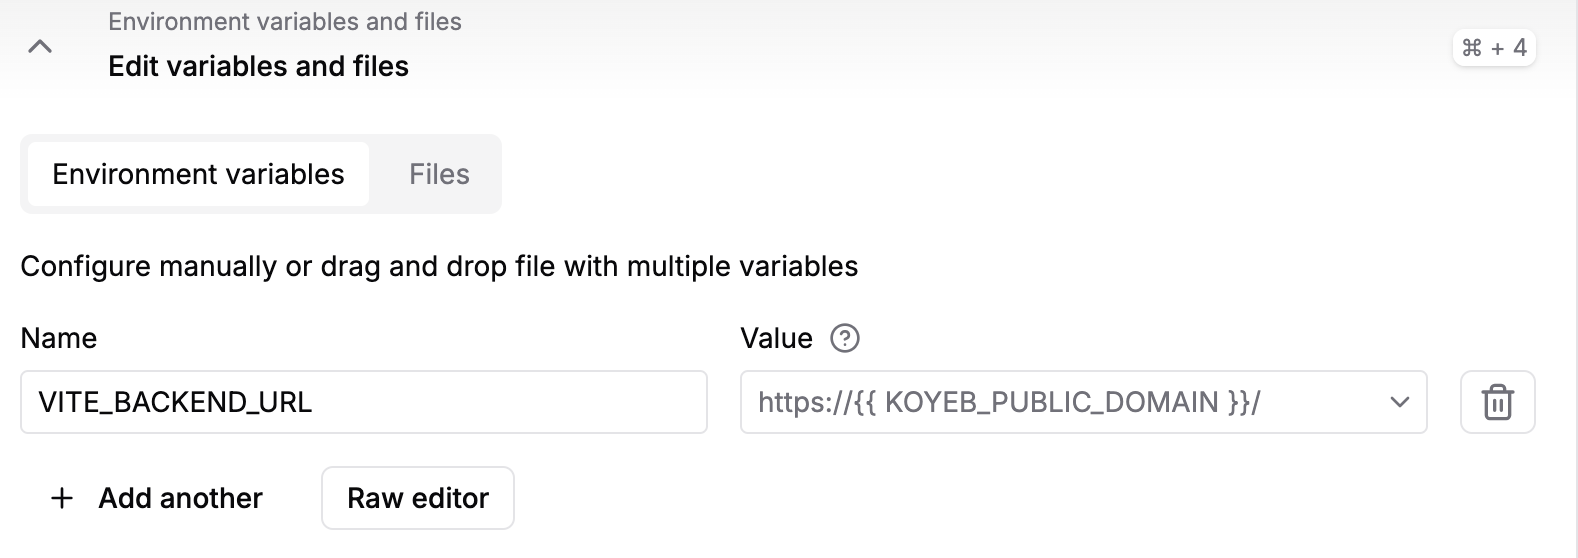
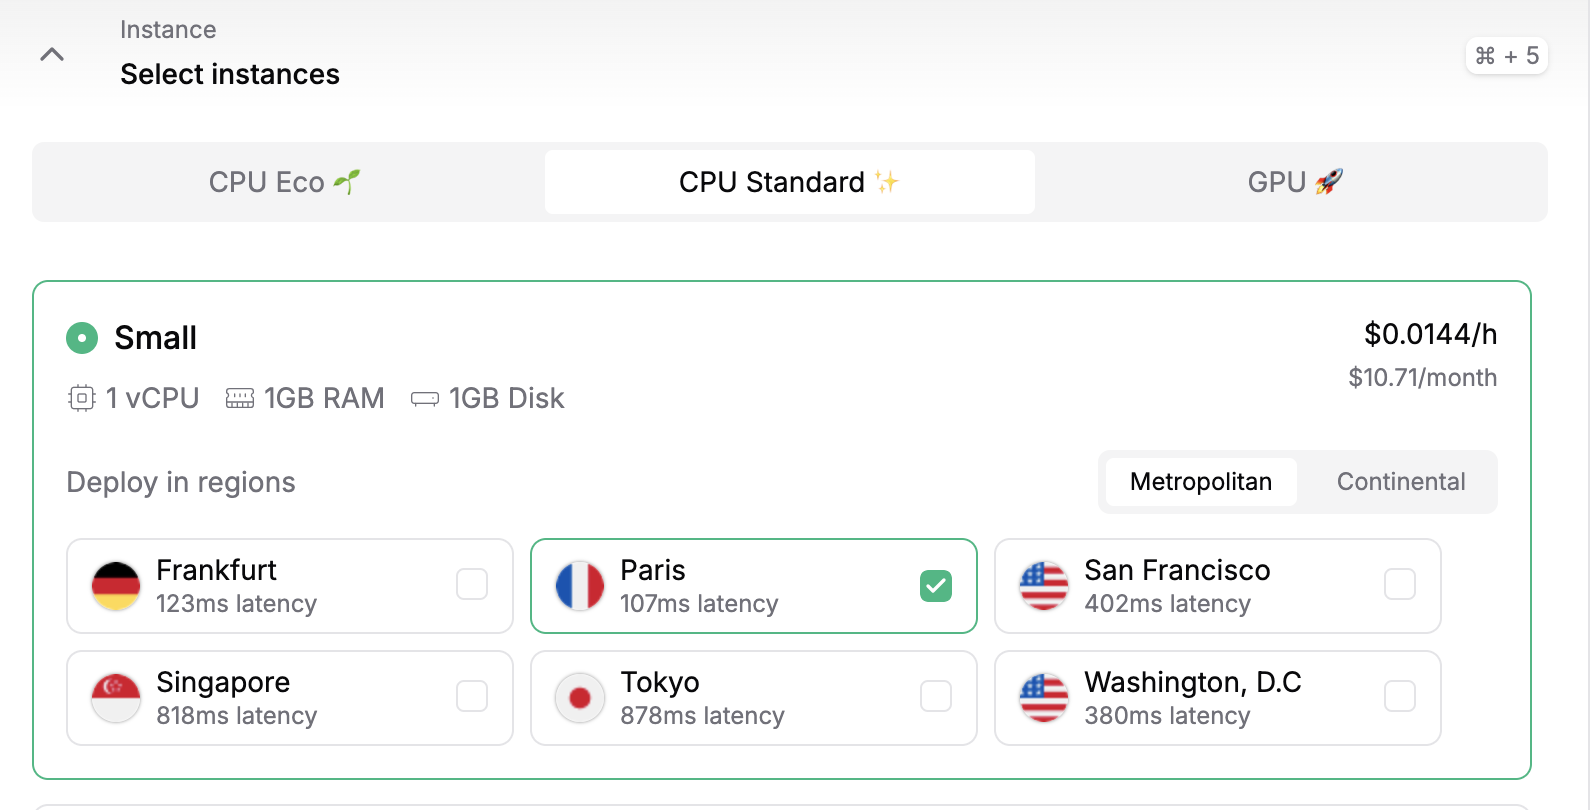
In the Instance section, select the CPU category and choose Small.
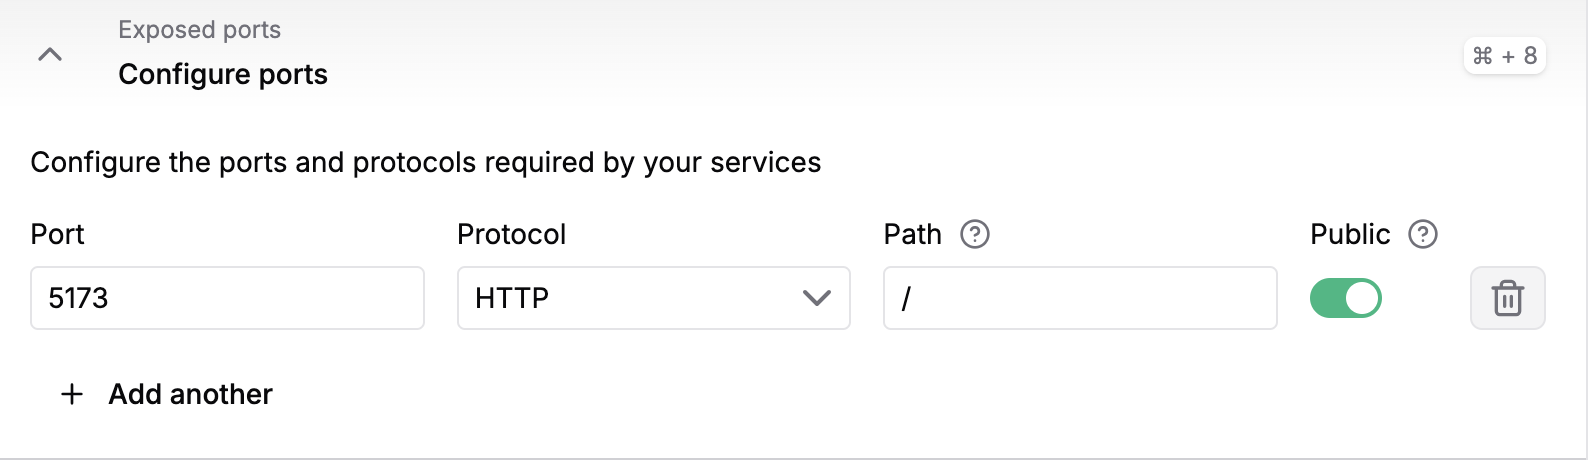
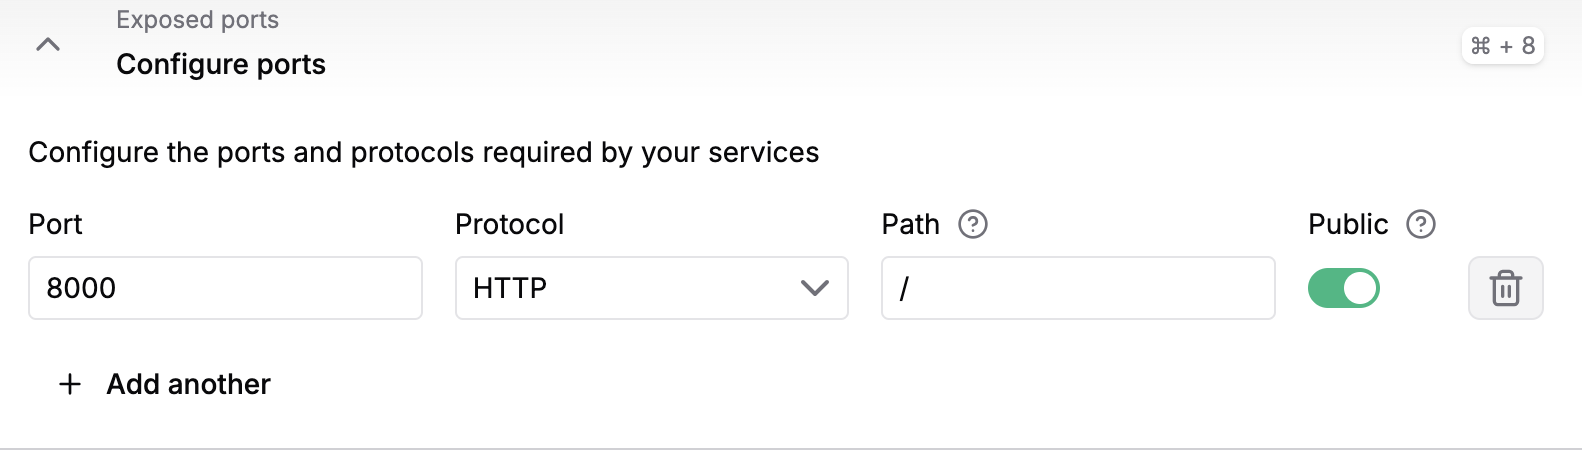
Add to Configure ports Port 5173 and Protocol HTTP.
Click Deploy!
The repository will be pulled, built, and deployed on Koyeb. Once the deployment is complete, it will be accessible using the Koyeb subdomain for your service 🚀
For the backend
To configure the builder, select Dockerfile and write
./Dockerfilein the docker file location and the Work directory/back_end.After you've deployed the frontend, add the frontend URL as an environment variable with the name
ALLOWED_ORIGINSto the backend.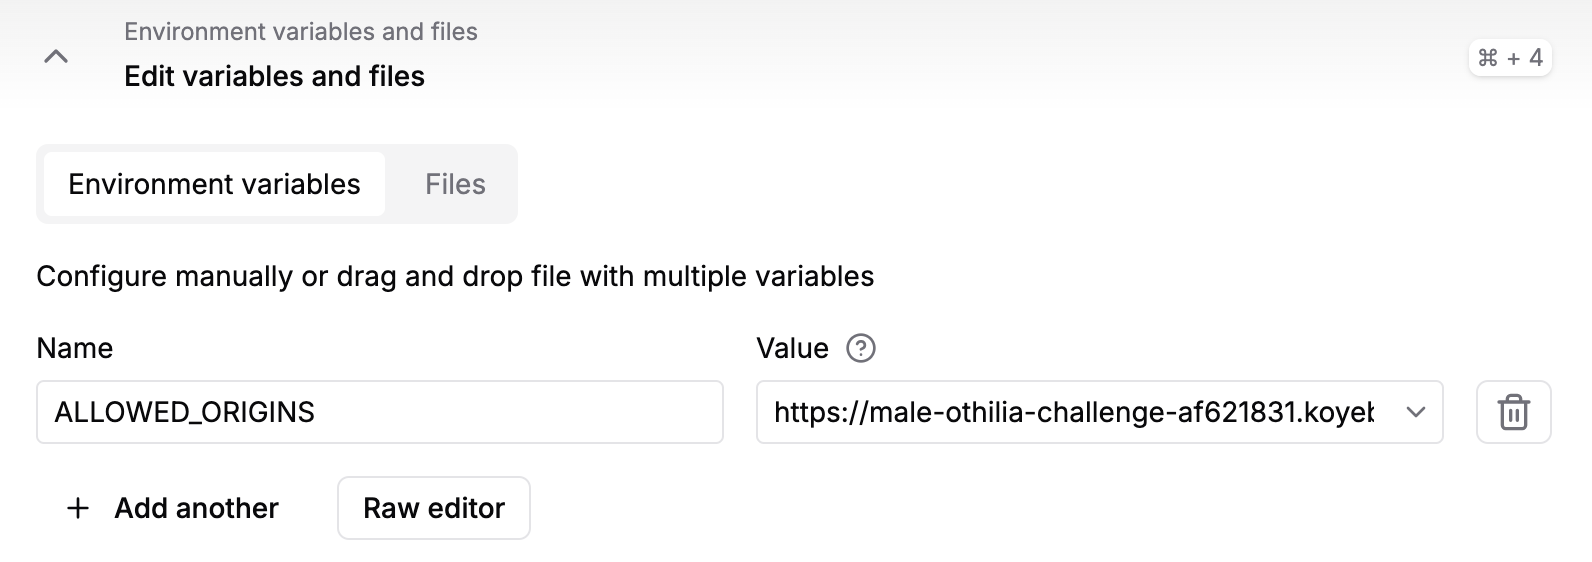
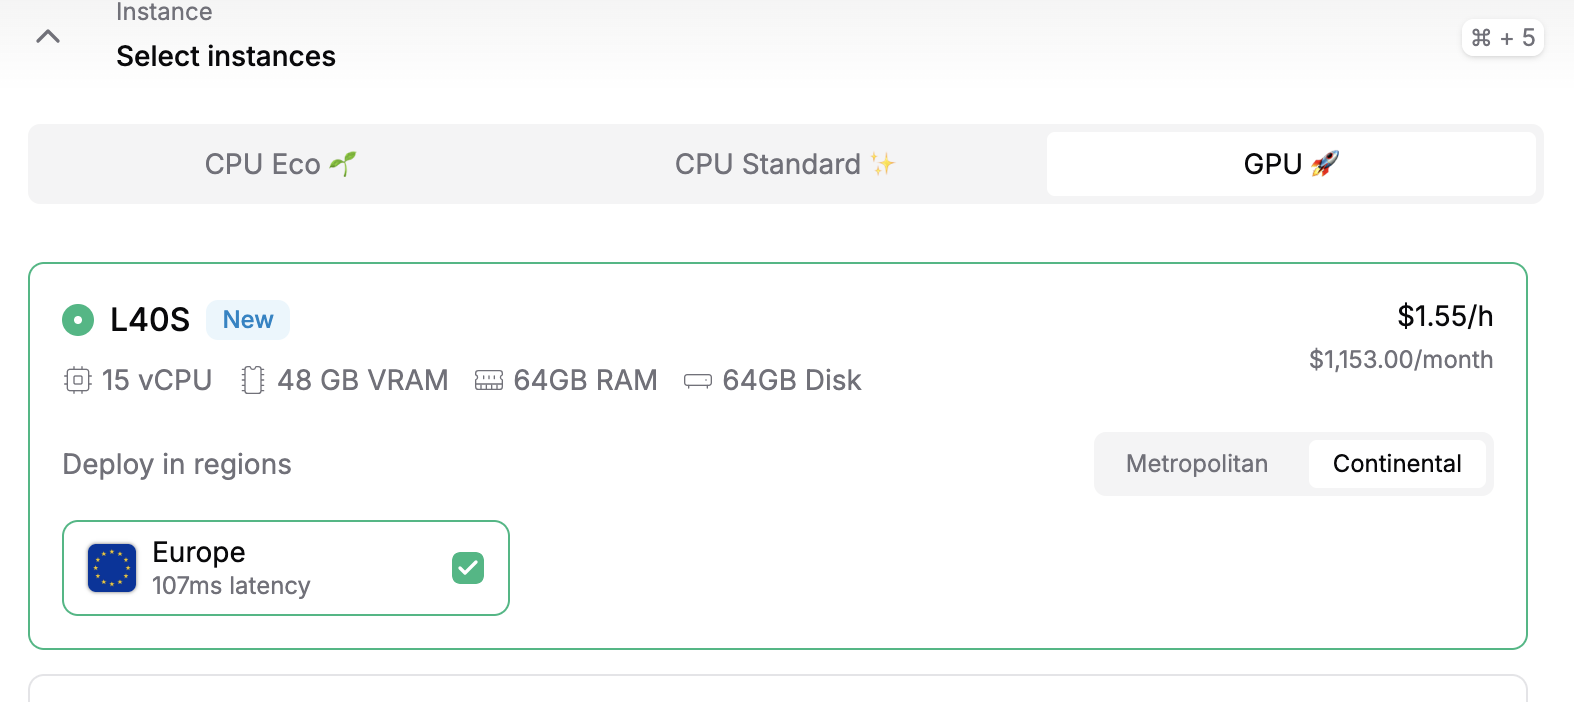
In the Instance section, select the GPU category and choose L40s.
Add to Configure ports Port the port you chose and Protocol HTTP.
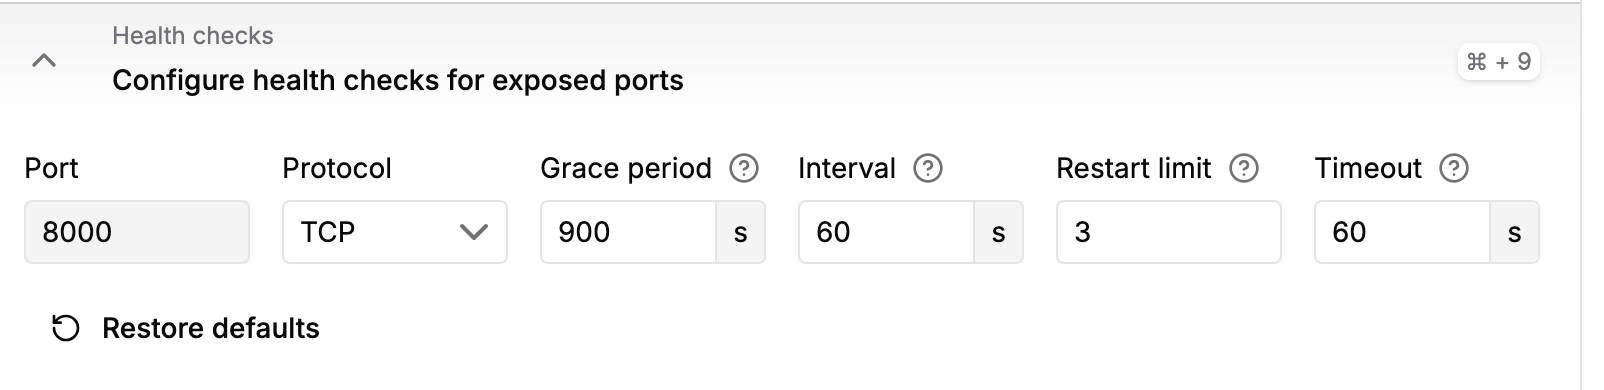
In the Health checks section, set the Grace period to 900 seconds and Interval and Timeout to 60s. This will allow LTX-Video to download from Hugging Face and initialise the server.
Click Deploy.
The repository will be pulled, built, and deployed on Koyeb. And you're ready to go 🚀
Running locally
Running the backend and frontend locally isn't necessary, but here's a small guide if you want to fork the repo, make changes, and play around with it. In the Workflow section, you can find a more detailed description of how to build the app.
Backend
Note that you'll need a GPU on your machine to run the model locally.
First pip install the requirements, preferably in a virtual environment:
pip install -r requirements.txt
I've also included a small Python script to download the correct model weights. When iterating locally, you don't need to run this before starting the backend server.
from huggingface_hub import hf_hub_download
hf_hub_download(repo_id="Lightricks/LTX-Video", filename="ltx-video-2b-v0.9.1.safetensors", local_dir="/models")
To start the backend locally in dev mode, run:
fastapi dev main.py
If you're using docker, you can instead run and build it locally like so:
docker build -t my-image-name .
docker run -d -p <port>:<port> --name my-container-name my-image-name
Frontend
The frontend is built with Svelte. To run the frontend locally, first install the dependencies:
pnpm install
And then run the server:
pnpm run dev
And the dockerized version:
docker build -t  my-image-name .
docker run -d -p 5173:5173 --name <app-name>
Workflow
In this section, you can find a more detailed description of how to build the app.
- Set up the frontend with Svelte
pnpx sv create myapp
Select SvelteKit minimal, Yes, using TypeScript syntax, no need to add anything to the project, and select pnpm as package manager.
cd myapp
pnpm install
pnpm run dev
- Setup the backend in a separet directory, install FastApi,
pip install "fastapi[standard]"
and to run it locally.
fastapi dev main.py
- Connect the backend with frontend.
- Add parameters and a
.mp4file as the backend output to simulate the pipeline without the model. Run both the backend and frontend locally to see that everything works as you want. - Dockerize the frontend and backend separately, then test that
docker buildanddocker runwork correctly. - Deployed frontend to Koyeb (follow these instructions) and test that the frontend works as you want to.
- Deployed backend to Koyeb (follow these instructions) and test that the back- and frontend work correctly.
- Add the script that downloads the model weights to the backend
from huggingface_hub import hf_hub_download
hf_hub_download(repo_id="Lightricks/LTX-Video", filename="ltx-video-2b-v0.9.1.safetensors", local_dir="/models")
- Deploy the backend on Koyeb and verify the model weights download correctly by checking the console.
- Add the part to load the model:
local_model_path = "/models/ltx-video-2b-v0.9.1.safetensors"
transformer = LTXVideoTransformer3DModel.from_single_file(
  local_model_path, torch_dtype=torch.bfloat16
)
vae = AutoencoderKLLTXVideo.from_single_file(local_model_path, torch_dtype=torch.bfloat16)
pipe = LTXImageToVideoPipeline.from_pretrained(
  "Lightricks/LTX-Video", transformer=transformer, vae=vae, torch_dtype=torch.bfloat16
)
pipe.to("cuda")
- Verify that the model loads correctly on Koyeb by checking the console.
- If the model loads successfully in the console, proceed to test the web app.
Troubleshooting
Common issues and their solutions:
- Port Conflicts: Ensure ports backend and 5173 (frontend) are available and public and that the frontend and backend URLs are correct
- Two or more requests : If there are two or more requests at the same time, the backend might fail. This is because, for both videos, the file name would be
output.mp4. This is fine for demonstration purposes but needs to be corrected for production.